*Check the laying substrate has no cracks, it is homogeneous and mature, totally clean and flat. Maximum deviation from flatness of 1mm per 2 meters length measured.
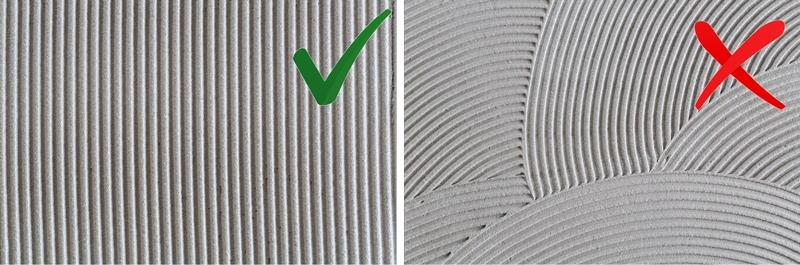
1. First apply the adhesive onto the back of the slab with a 6mm-tile trowel and it must be spread over in one direction only.
2. At the same time, spread the adhesive onto the floor substrate using a 8mm U-notch/V-notch trowel and following the same direction as previously applied to the back of the slab.
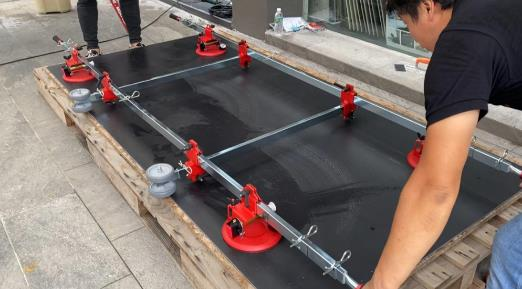
3. Using the appropriate sucker frame, position the slab on the adhesive bed.
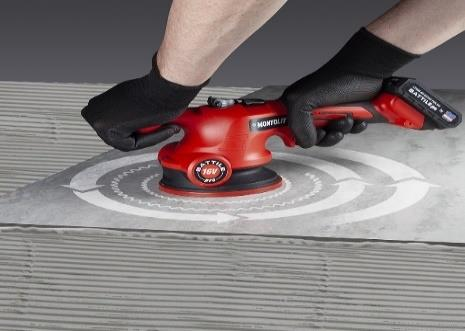
4. Tap the slab with a vibration tile beater for a complete fixing, ensuring the air is expelled. It is recommended to start from the centre of the slabs and then move towards the edges.